VETTEFINDERS.COM 1979 PROJECT CORVETTE |
| Part corvette.2 |
Part 1 | Part 2 | Part 3 | Part 4 | Part 5 | Part 6 | Part 7 | Part 8 | Part 9 | Part 10 | Part 11 | Part 12 | Part 13 | Part 14 | Part 15 | Part 16 | Part 17 | Part 18 | Part 19 | Part 20 | Part 21 | Part 22 | Part 23 | Part 24 | Part 25 | Your Comments | about us |
|
Jan 18, 2003
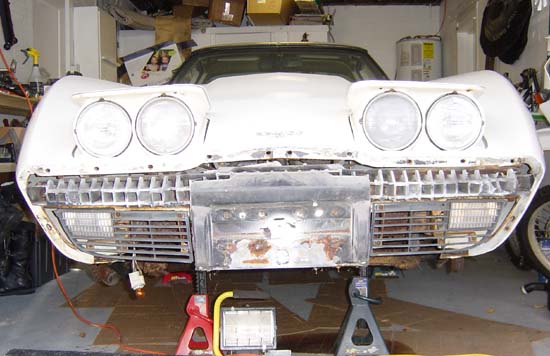
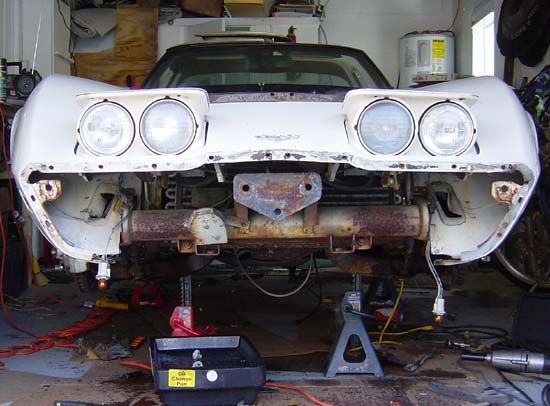
We began the body removal process Jan 18th, 2003. To remove the body from a corvette, there are a number of electrical connections, body mounts, brake lines, cooling lines, etc. That need to be removed. It is hard enough doing all that is required, but even harder when most all of the nuts and bolts are heavily rusted. Our project corvette spent a portion of its life in the Midwest where it was driven in snow. As a result, everything made out of metal in the front end is rusty. The first thing we removed was the front bumper of the car. The front bumper cover is held on by strips of metal with bolts mounted on them. These were easy to remove, as they all broke when trying to loosen them. Sometimes its good to have rust, right? Otherwise, its a real pain to try to get up behind the bumper cover.
One very important point about the front end removal: There is a lot of weight in the front of the corvette and if you don't remove a lot of the weight (like the radiator,lights, etc) when you remove the mounting bolts, you will very likely crack the body where it connects to the firewall, and fixing that is not an easy task.
|
| Part corvette.2 |
Part 1 | Part 2 | Part 3 | Part 4 | Part 5 | Part 6 | Part 7 | Part 8 | Part 9 | Part 10 | Part 11 | Part 12 | Part 13 | Part 14 | Part 15 | Part 16 | Part 17 | Part 18 | Part 19 | Part 20 | Part 21 | Part 22 | Part 23 | Part 24 | Part 25 | Your Comments | about us |
Project '79 Sponsors & Contributors

|
 |
 |
 |
| KONI NA | Van Steel | Revivation | Caledonia |